Day 284 – Sailor Moon Crystal Hair Fascinator

Hello Yearlings!

I’m starting to think that sitting glued to the couch and binge watching Sailor Moon Crystal are literally all my Sunday’s are ever going to consist of, not that I’m complaining. I actually love being a total bump on a log and watching pretty anime while I sit around crafting and just all around lounging. I don’t get a lot of opportunities to do stuff like that, or a lot of free time for that matter. I love how much watching Sailor Moon inspires me to craft and create, it’s nice to have something like that in my life that just has an automatically creative effect on me.

On the title screen of the show there’s a beautiful watercolor painting of sailor moon in profile and she’s wearing flowers in her hair and it sort of occurred to me today that that would make a beautiful hair fascinator for me to wear in my hair so I decided to create one out of felt. I’ve actually been meaning to get around to trying this technique of making felt flowers but I just never have. I’m not really a felt kind of girl, it’s been a long time coming for me to even really start experimenting with it. So the fact that it didn’t come out totally horrible was a wonderful shock for me.

It took me bloody forever to find this pic, so I really hope this link works for you guys.

IMG_7896
Basically what you do is you cut small squares and then cut circles out of those squares to start. If you’re more coordinated than I am then you can cut a circle right out of the felt but I felt the need for a point of reference. You then cut into your circle in a spiral pattern (as pictured) leaving a bit of fabric in the center. This will be the base of your flower.
IMG_7898
My pink rose was a 6×6 square and the purple one was a 4×4 square (inches). You then start from the outside and roll your rose, hot glueing along the way, until you get to the large bit of fabric at the center of your rose. Glue that down to the back and you’re finished. As you can see the pink rose had to be wound a lot tighter otherwise it would have been huge. I had a lot more felt to work with there.
IMG_7906
Then just cut out another piece of neutral colored felt, or make a fascinator bottom, and glue your pieces in place. In the painting the flowers technically had some green leaves poking out the other side so I figured I would whip some up real quick using crochet. Then just glue on whatever means you intend to use to fasten this to yourself and you’re done.

Ingredients:

Felt, pink and purple as well as tan if that’s what you’re planning to glue it to

Glue

Yarn, green

Fastener of some kind

You don’t only have to wear this as a fascinator. I actually think that this would make a pretty cute brooch or headband accompaniment. You could even sew these onto a dress and skip the idea of it being an accessory at all. I feel like this is just going to be the week of hair accessories what with Jess coming over to work on her headband tomorrow. That is assuming that we actually get around to doing it. We have a bad habit of getting so caught up talking that nothing ever really gets done. We shall see.

Lots of Love,

Maya

Day 66 – Love Letter Hair Fascinator

Hello Yearlings!

If you will remember I made something much like this around Valentines and was planning on making a full size version, but didn’t because I ran out of time. Then, as though some sign from the universe I ran into a woman with a tattoo on her arm that literally looked exactly like the hair pin that I had made. I couldn’t resist the urge to make her a much larger fascinator in the same style and gift it to her.

IMG_5304
The ingredients.
IMG_5306
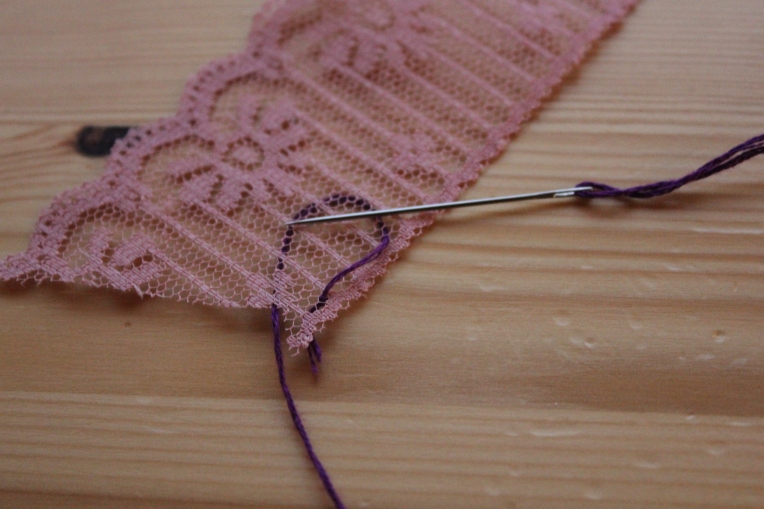
Your going to use the embroidery thread to sew along the inner seam of the ribbon to create gathers.
IMG_5309
Then make a circle in both your cardboard and your felt.
IMG_5314
Then cut them both out. I actually ended up trimming my cardboard circle down so that the felt would overlap and hide the cardboard edges.
IMG_5333
Then just follow my directions for the Love Letter Hair Pin (https://theyearlingblog.wordpress.com/2015/02/10/day-41-love-letter-hair-pin/) and then hot glue everything together.
IMG_5334
Hot glue the dark felt to the cardboard, then the ribbon to the cardboard, then the love letter to the ribbon. It’s sort of a stacked adventure.

Ingredients:

Red, tan and grey felt

Hot glue

Ribbon

Alligator clip

Thread

This was actually a breeze to make and I ended up finished with it in less than an hour. Not going to lie though, I will have a spot of trouble parting with this one because it’s just so incredibly cute. Once I actually track down the girl and give her the fascinator I will also take a picture of that and post it here for you guys to see.

Lots of Love,

Maya